
We are having a Christmas get-together/meeting at our house this week and I wanted to make a little "thank you" treat to give to everyone that will be attending. I browsed pinterest and found a
couple of blogs that talked about being able to bend candy canes...not melt them...but bend them. I was intrigued so I thought this would be fun for me and the kids to make for our guests :) Unfortunately, it proved too hard for my youngest to "bend" (too hot for her young fingers and she got frustrated trying to use tools) and my oldest was only interested in designing the shape...not bending them :) But they helped out in other ways - laying the out on the parchment paper, getting them out of the packaging, coming up with different designs, helping me decide if what I made was good :) and then placing them in bags at the end and tying them with a bow.
All you need is parchment paper, candy canes and a baking sheet and you're good to go :) Both blogs I read said different temperatures and times. Every oven is different, but after multiple tries I found my gas oven to work best at 270 for 4-5 minutes. 300 proved to be too hot even at 2-3 minutes.
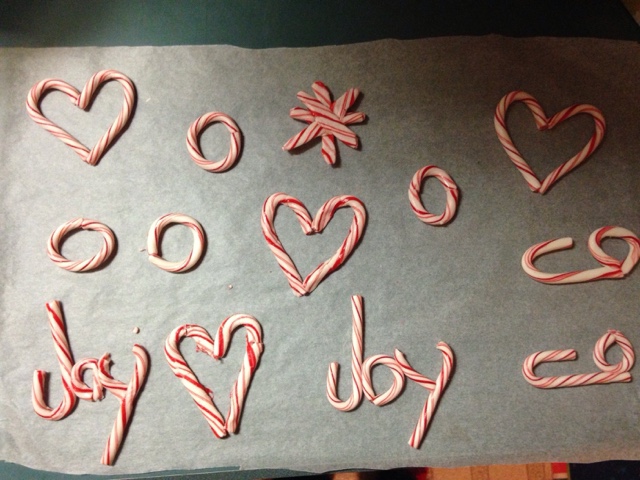
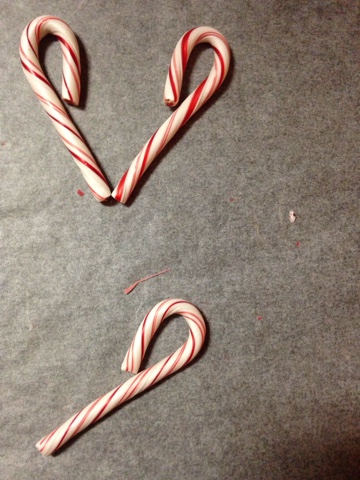
My first attempt was at a heart. I layed it out as pictured below:
It really didn't matter if the the cc were exactly where you needed them, but I found that once you pull them out of the oven you only have a short window until they get hard again - so having them where you want them helps speed things up :) To make the little circles (which I call "ornaments" ;) I just used one regular candy cane and shaped it into a circle - easy :)
After the heart turned out well I got adventurous and tried to make the word "Joy". The "J" was easy because it's the shape of a cc. For the "o" I broke off the stem and then for the "y" I broke the loop in half and split it (like below).

It took some fast "bending" but they turned out neat!


My daughter designed the star in the top middle. I wasn't sure how it would turn out because it's 4 sticks place on top of each other - but I think it looks great! My son designed the flower below - it also turned out good...it just used quite a few candy canes :) the sideways looking "g's" in the above picture were my attempt at making little sleds with a gift sack on top...too ambitious :) they just look like "g's". lol I was hoping that once I filled in the sacks it would help...but it didn't ;)

I also made quite a few crosses - all of them different - but I don't think any of them look better than another. But it was easier to just get two sticks (rather than 1 long and 2 short) and just smush them together in the middle :)
The last two things I tried were a snowman and a Christmas tree. My kids had their doubts but applauded my efforts :) They both broke as I we were putting them into the baggies and I had to re-heat them and mold the pieces together better. But I like them :)


The snowman is pretty obvious - 3 candy canes each one shorter than the other. The Christmas tree took 5 candy canes stacked on top of each other and the stem is shorter on each level. I couldn't get the top quite right...I think a curved top would've looked better...
So, after we made enough for all of our guests to get one, we copied an idea from the other blog I read and filled in some of our creations with melted white chocolate...cause...why not? :)
The picture of the pan above (with the little "g's" :) were all the pieces we filled in. I forgot to get an "after" picture, but here are a few examples. Then, we wrapped them in little bags and tied them with a bow :) It was fun!!


Have fun Candy Cane crafting!! :)
No comments:
Post a Comment